


ME: Hello Everyone 👋, guess what you will be learning in this article 🤔
YOU: IDK😢
ME: See the Title once more😬
If you haven't read the Part-1, Here it is
First, we are going to create a repository on GitHub and clone it to the system and do some work on it and push it back into the server.
Follow these steps to make this possible :
Step 1:
The Easy step of all👊
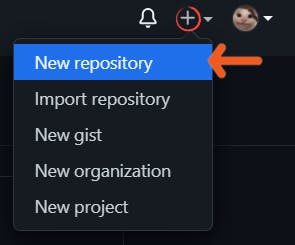
Create a New GitHub repository. Click on the "+" sign on the top right corner and select the new repository.
Step 2:
Enter the Repository name with a description (Description is optional). Initialize the repo with Add a README file. In the README file, you provide a brief description of the project. Lastly, click Create Repository.
There goes your first repository!
Step 3:
The next task is to create a clone of the repository in the system. To do that click on Code and copy the HTTPS address

Step 4:
Once you finished copying the link, open the terminal and enter the following Command
git clone <the thing you have copied>
Remove the Angular brackets(< >) and enter only the copied HTTPS address.
This command will make a local copy of the repository in the system.
 Now you've created a copy of the Repository in your system.
Step 5:
Now to make any changes in the repository, first we need to move into that repository. So for that use the following command.
cd <name_of_repository>
 If you closed the terminal, and if you want to get back to that repository in your system, you can start from Step 5
Step 6:
Go to File Explorer and search for the repository folder (The name you've named for the repository). Open the folder and add the project files you are working on.
When working on projects, you have to check whether files are modified or not. To check that use the following command.
git status
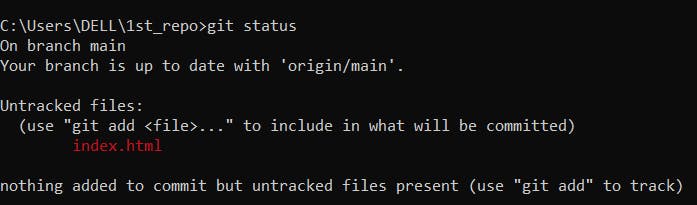 You can now check the list of files(in red) which are not present in the repository but are present in the repository folder in File Explorer.
Here I've got index.html in red color because it is already present in my repository folder but not present in the repository on GitHub.
You can now check the list of files(in red) which are not present in the repository but are present in the repository folder in File Explorer.
Here I've got index.html in red color because it is already present in my repository folder but not present in the repository on GitHub.
Step 7:
So if u want to add the files that are shown in red in step 6, you can use the following command.
git add <filename> <filename>
You can check that in Step 6, I've got index.html in red color, so to add this file to the repository we use this command.
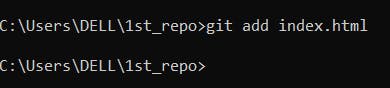 So now the file is added.
Step 8:
After adding files we need to save changes. Also, we need to write a message to explain what we have done because this may be helpful later when we check the history of changes. Here is the Command 👇
git commit -m "Short message here"

Step 9:
Now you are finally ready to move this to GitHub. To do that you have to push the repo to remote server. To do that use the following Command.
git remote
 If it shows origin after executing the command, it is now finally ready to be pushed to the remote server.
Step 10:
This is the last step of all😁
Pushing the repository to the server😍
git push

There is also one more command to do the same.
git push origin
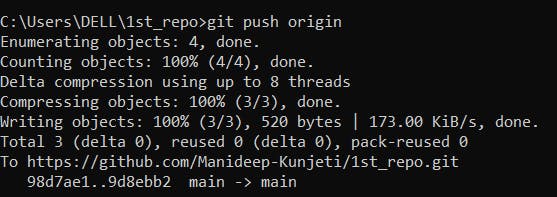
You have now successfully pushed the repository.
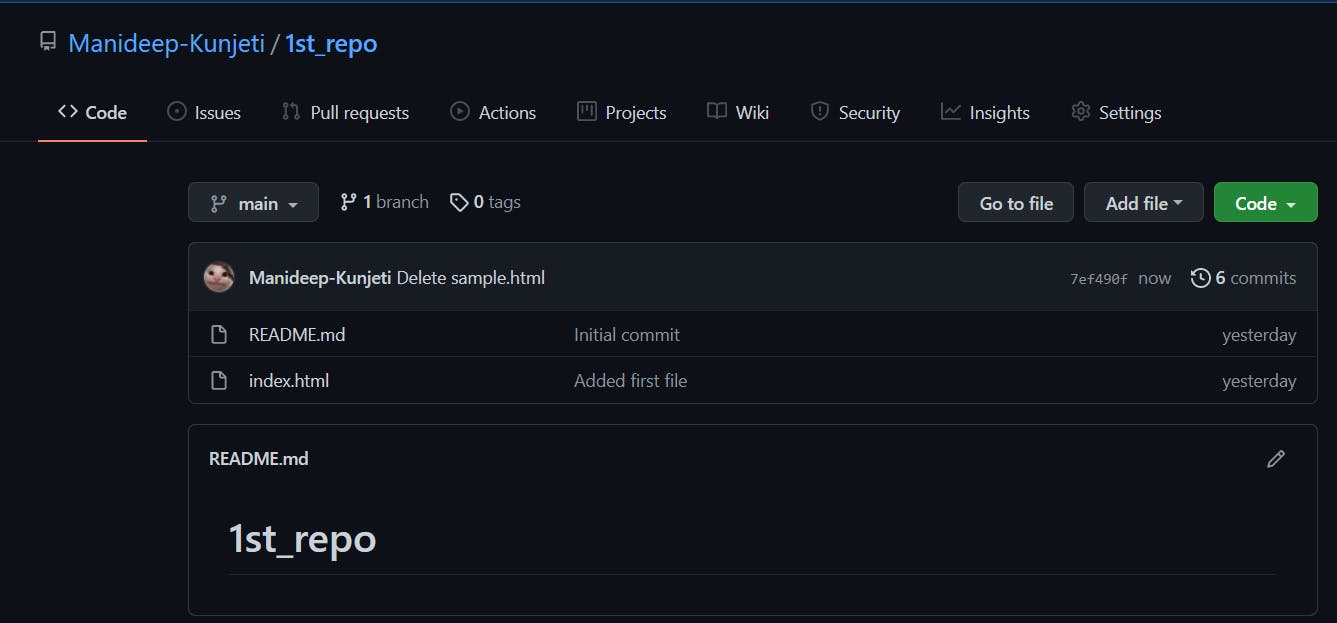
You can now go to the GitHub repository to check whether the file is appended or not.
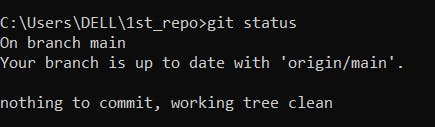
The other way to check whether it is successful or not is by running command git status
| GitHub view | Terminal view |
 |  |
Great 🎉 we have successfully learned all the basic GitHub Commands. I hope you enjoyed GitHub init with me✌.
If you have found this article helpful, also do share it on socials.
STAY TUNED FOR MORE😄
WANNA GET CONNECTED WITH ME🙈
Twitter LinkedIn